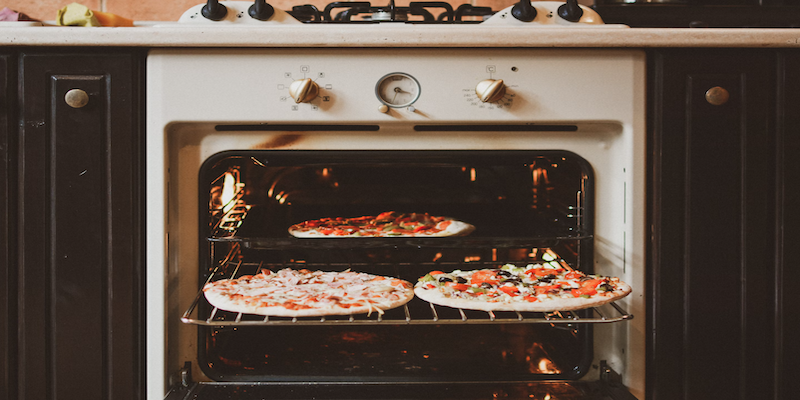
A clean oven doesn’t just look better—it works more efficiently, produces better-tasting food, and prevents smoke and unpleasant odors during cooking. Yet oven cleaning is often one of the most dreaded kitchen tasks. This comprehensive guide will walk you through various methods to get your oven sparkling clean with minimal effort and frustration.

When to Clean Your Oven
- Frequency: Deep clean every 3-4 months for regular use
- Signs it’s time: Visible grime, smoke during preheating, or persistent odors
- Timing tip: Clean after cooking something particularly messy or before major holidays when your oven will get heavy use
Preparation: Setting Yourself Up for Success
Before diving into any cleaning method:
- Gather supplies based on your chosen method (see below)
- Remove oven racks and accessories
- Lay down newspaper or old towels in front of your oven to catch drips
- Ensure proper ventilation by opening windows or turning on fans
Method 1: Self-Cleaning Function
Many modern ovens come with a self-cleaning feature that uses extreme heat to turn food residue into ash.
Steps:
- Remove any large food debris from the oven floor
- Remove oven racks (they can warp during the cycle)
- Ensure nothing is on the stovetop or in storage drawers below
- Lock the oven door and set the self-cleaning cycle (typically 2-4 hours)
- Allow the oven to cool completely after the cycle finishes
- Wipe down the interior with a damp cloth to remove ash
Pros and Cons:
- Pros: Minimal manual labor; very effective for heavy buildup
- Cons: Creates smoke and odors; consumes significant electricity; can trigger smoke alarms; potential fire risk if excessive food debris is present
Method 2: Commercial Oven Cleaners
Store-bought oven cleaners contain powerful chemicals that dissolve baked-on grease and grime.
Steps:
- Protect your hands with rubber gloves and ensure good ventilation
- Spray the cleaner throughout the oven interior (avoiding heating elements)
- Close the door and let sit according to product instructions (usually 30-60 minutes)
- Wipe away loosened grime with paper towels
- Rinse thoroughly with water and a sponge until all chemical residue is removed
Pros and Cons:
- Pros: Effective on tough buildup; relatively quick process
- Cons: Harsh chemicals; strong fumes; requires thorough rinsing to prevent chemical transfer to food
Method 3: The Natural Baking Soda Method
This gentler approach uses kitchen staples to create an effective, non-toxic cleaner.
Supplies:
- Baking soda
- Water
- White vinegar
- Spray bottle
- Rubber gloves
- Microfiber cloths or sponges
- Plastic or silicone spatula
Steps:
- Create a paste with ½ cup baking soda and 2-3 tablespoons water
- Spread the paste throughout the oven interior (avoiding heating elements)
- Allow to sit for 12 hours or overnight
- Meanwhile, clean the oven racks in the bathtub with hot water and dish soap
- Fill a spray bottle with vinegar
- Spray the dried baking soda paste with vinegar (it will foam)
- Once foaming subsides, wipe clean with damp microfiber cloths
- Use a plastic spatula to gently scrape stubborn spots
- Do a final wipe-down with clean water to remove residue
Pros and Cons:
- Pros: Non-toxic; inexpensive; gentle on oven surfaces; no harsh fumes
- Cons: Requires longer waiting time; more elbow grease for tough buildup
Tackling the Oven Door
The oven door deserves special attention as it’s often the most visible part:
- For standard cleaning: Use your chosen method from above
- For glass doors with internal grime:
- Check your oven manual to see if the door disassembles
- If possible, carefully remove inner glass panels
- Clean separately and reassemble
- If disassembly isn’t an option, use a long, thin cleaning tool wrapped in a cloth to reach between panels
Don’t Forget the Oven Racks
Clean oven racks while your chosen cleaner works on the oven interior:
- Place in bathtub with hot water and ½ cup dishwasher detergent
- Soak for 4 hours or overnight
- Scrub with a non-abrasive brush
- Rinse thoroughly and dry before replacing
Maintaining Your Clean Oven
Once your oven is clean, keep it that way longer:
- Place an oven liner or sheet of aluminum foil on the bottom rack (not directly on the oven floor) to catch drips
- Clean spills promptly once the oven cools
- For cooking messy foods, use covered bakeware
- Wipe down the door weekly to prevent buildup
Special Considerations
- Gas ovens: Cover gas inlet holes with aluminum foil when using wet cleaning methods
- Electric heating elements: Avoid direct contact with cleaning solutions
- Convection fans: Clean gently with a damp cloth; never spray cleaners directly
- Smart ovens: Check manufacturer guidelines before using any cleaning method
When to Call a Professional
Consider professional cleaning if:
- Your oven hasn’t been cleaned in years
- The self-cleaning function is broken
- You have respiratory conditions that make cleaning fumes problematic
- There’s damage to heating elements or other components
Final Thoughts
A clean oven is not just about aesthetics—it improves energy efficiency, prevents smoke and fire hazards, and ensures your food tastes its best. By establishing a regular cleaning routine using your preferred method, you can keep this essential appliance in top condition without the dread that typically accompanies this chore.
Remember: the more frequently you clean your oven, the easier each cleaning session will be!